As an Amazon Associate I earn from qualifying purchases.
A standout amongst the most widely recognized grievances we hear every day is from trail camera clients who have spent their important assets on a trail camera and are simply not happy with the manner in which it performs.
The cash they have put resources into getting setup and the time it takes to run their camera is basically not satisfying in the way in which they had trusted.
For those in that position, sit back and relax, your endeavors will not go in vein. I have contained a rundown of 20 hints that will enable you to achieve your camera’s potential, notwithstanding on the off chance that you put resources into top of the line gear or obtained one from the deal receptacle at the nearby donning products store. There is dependably opportunity to get better in capitalizing on your trail camera.
Prior to buying a trail camera, it is important to realize what you anticipate from it. There are a huge number of alternatives available today, and every camera has its very own qualities and shortcomings.
On the off chance that you will likely catch your neighbors hound diving in your lawn, its most likely not suggested that you spend your well-deserved paycheck on a camera that has practical experience in time slip by photography.
Therefore, on the off chance that you are looking for the deer density on your property, utilizing a camera with different settings for time slip by mode, around a sustenance plot or watering gap, would be helpful to you.
It is likewise critical to know where you intend to hang your camera. Getting photos of a wild bear leaving its cave in the spring can be some stunning photograph openings, anyway utilizing infrared or white glimmer settings can make some pointless consideration about your camera, that may incite interest from an officially bad-tempered animal.
What’s more, trust me as a matter of fact, bears can make a great deal of harm to costly gears (more on that later).
Whatever the case might be, thoroughly consider your goals, and the essential spot you intend to utilize your camera. This little advance will result profits not far off.
2. CHANGE THE PIR SENSOR
Numerous cameras on the present market are made to have a setting to change the detached infrared sensor (PIR). The PIR is just a sensor that estimates the measure of infrared light that emanates from items inside its survey run.
At the point when a warm body, for example, a human or an animal strolls inside the recognition zone, the adjustment in infrared inside the range triggers the sensor.
Most cameras have this innovation regarding their movement recognition frameworks, on the grounds that PIR frameworks are really separated into two sections; The estimating of infrared, and the genuine movement of the object.
As a camera proprietor, it’s imperative to comprehend this idea, on the grounds that each living thing radiates infrared. Well evolved animals, feathered animals, trees and grass all transmit distinctive dimensions of infrared radiation, and the hotter something is, the more it will emanate.
Changing the affectability on the sensor will give you a little power over the dimensions of IR radiation an item should emanate before actuating the movement discovery. A lower affectability setting will help with bogus triggers of lets falling well enough alone for trees and wind blowing through the grass.
3. UTILIZING THE RIGHT BATTERIES
Batteries are a key segment to the ideal capacity of your camera, and you have a wide range of decisions from Alkaline, lithium, and battery-powered. Numerous cameras on the present market are even perfect with outside batteries and sun powered boards, just as interior battery-powered packs.
The significance of picking the correct battery is fundamental to get the most from your camera. 90% of cameras on the present market work on AA batteries. One AA antacid battery will create roughly 1.5v of intensity, while one AA lithium battery is around 1.7v of intensity.
If the producer of your camera prescribes Lithium and you utilize the more affordable Alkaline your camera will even now work fine.
The distinction you will see is with the general execution of key capacities, for example, location go, streak run, trigger speed and battery life. Every one of these parts of your camera are working at its ideal dimensions with a marginally higher voltage.
4. KEEP FRESH BATTERIES
While we know the significance of picking the correct battery for your trail camera, similarly as fundamental is keeping your batteries new. The measure of charge a lot of batteries can hold will bit by bit decline because of age, utilization, and cell oxidization.
While distinctive batteries, for example, lithium and soluble have separate concoction cosmetics, they both commonly hold a producer guarantee for the primary 20% of the batteries control. So, if your batteries are holding 80% battery, they have just surpassed the guarantee from the maker.
A basic battery contains three areas. The primary area is what is known as the stone substance. This substance is the thing that has been utilized, and is in reality dead material that can never be revived. The second segment of a battery is the accessible vitality that the battery still contains, and the third segment is the unfilled zone, that with the correct battery can be revived.
The significance of the majority of this to your battery life, is that when your camera is indicating 60% battery, the level of the battery that still contains accessible vitality is nearer to 30%. At the point when a battery is delivering vitality at not exactly most extreme limit, it won’t create the required voltage to run your camera at ideal dimensions.
#TIP : For obtaining best value, change your camera batteries when the power plunges anyplace beneath 70%.
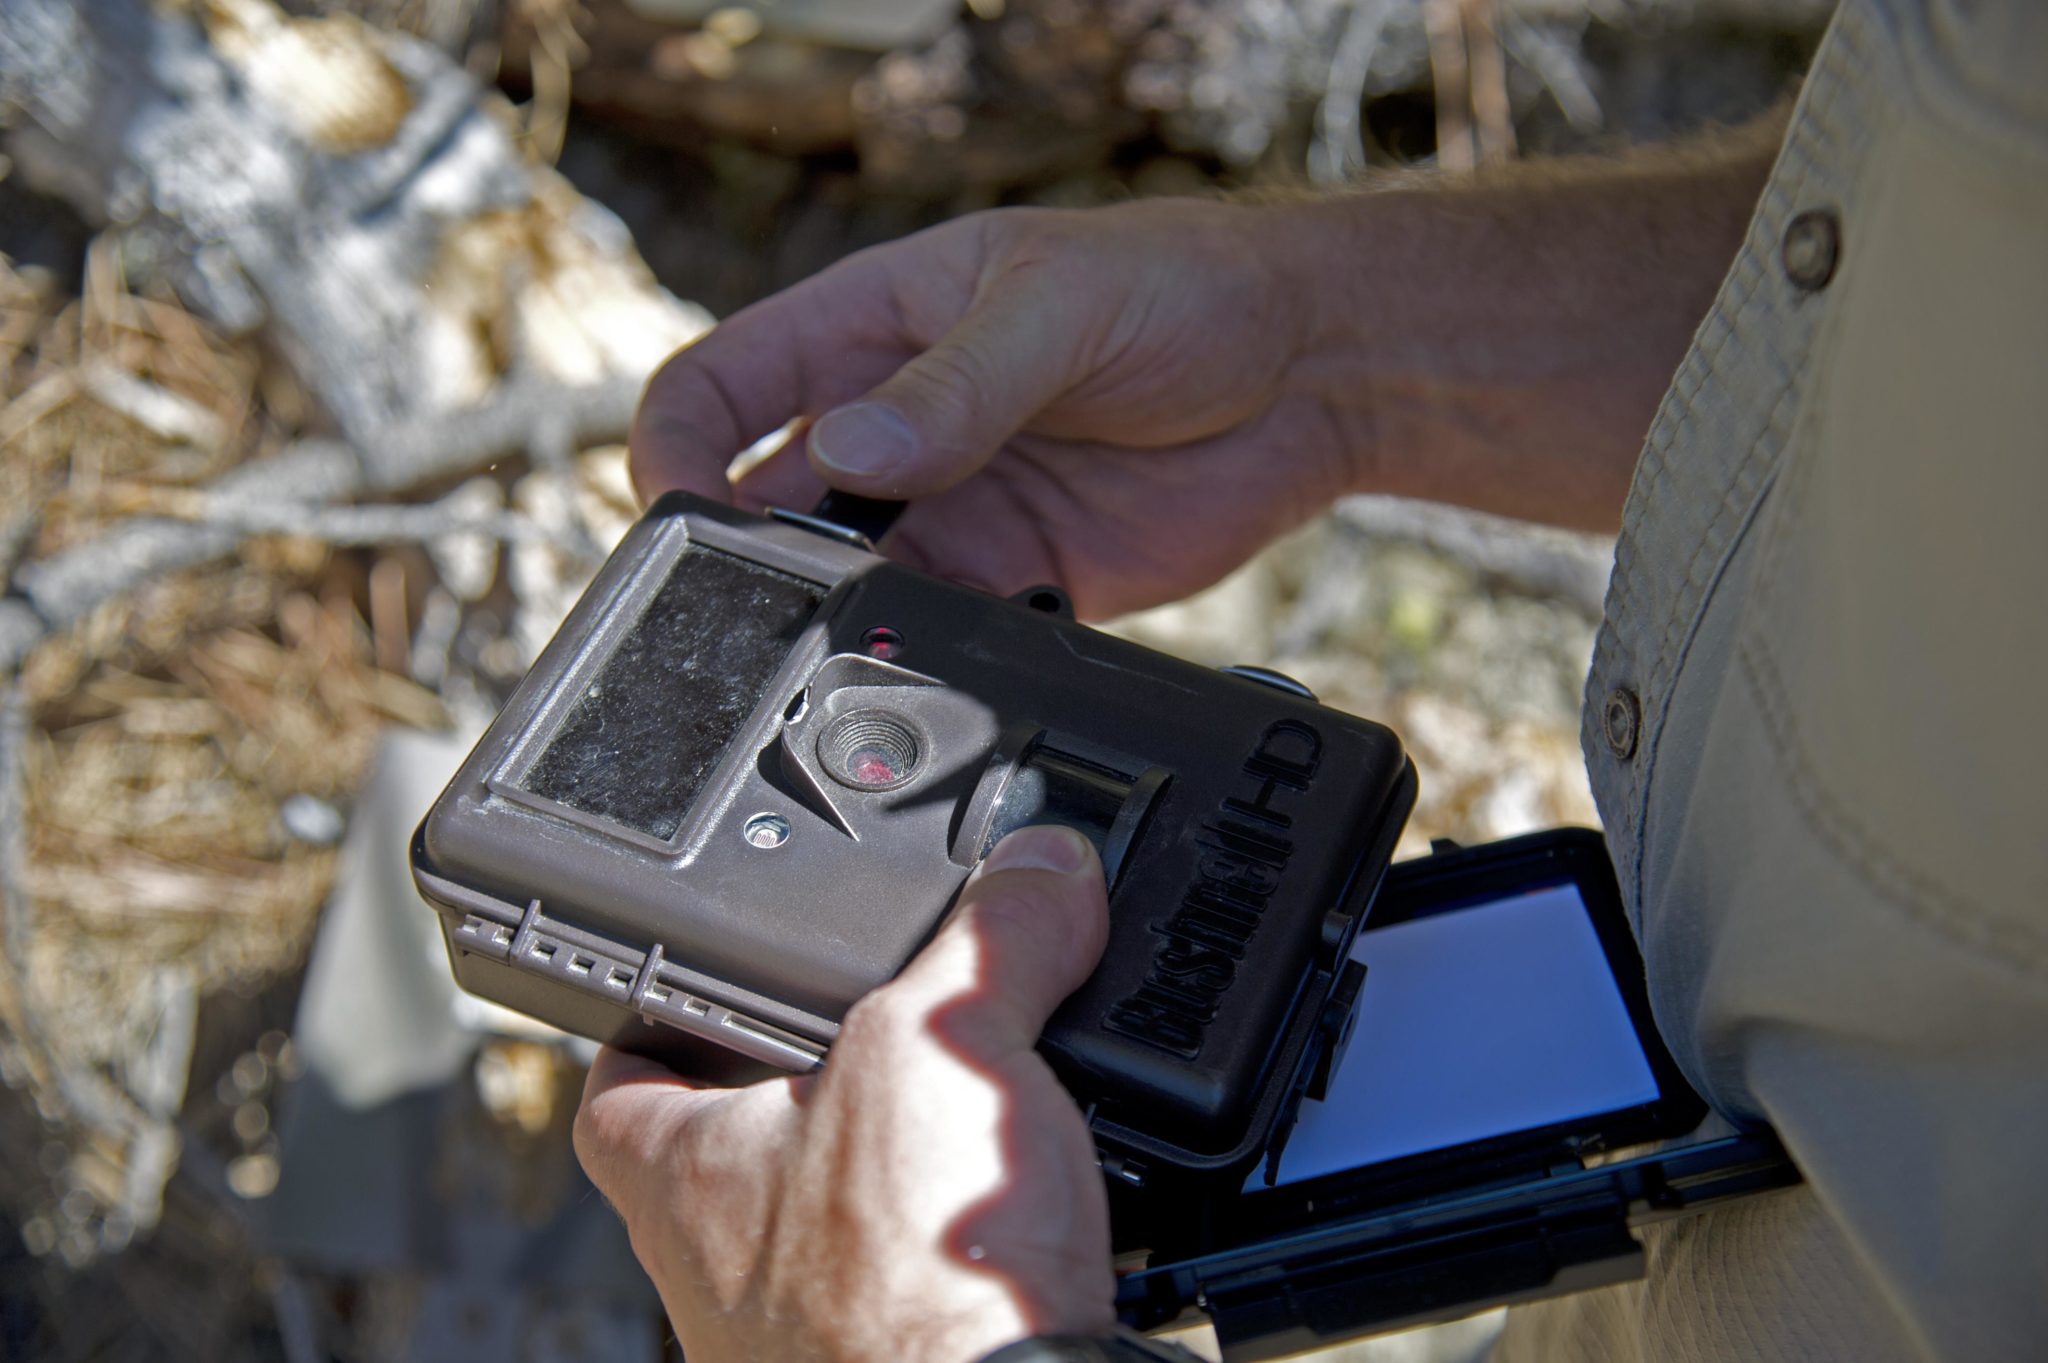
5. USE THE RIGHT SD CARD
SD cards can be as basic or as convoluted as you might want to portray them. Our basic suggestion is, read the user guide provided by the manufacturer for the specific camera.
They vary on the basis of the camera you use, and the shutter speed of your camera. Most cameras will deal with no less than a 32GB card.
What most people disregard is the speed of the card. Each card has a rating hovered on the front, commonly somewhere close to 4 and 10. That number is the measure of feasible gigabytes your gadget can exchange to the card every second.
When all is said in done if your camera has a quick trigger speed, with a multi burst setting, the higher class of card the simpler the pictures will probably exchange to you SD card. For a more profound jump into SD cards look at our most recent article on picking the correct SD cards for your trail camera.
6. FORMAT YOUR SD CARD
So as to keep up a SD card’s speed execution, protect its storage limits, and lessen risk of capacity blunders, it is prescribed to format the SD card according to the particular trail camera you are using in.
Every camera is extraordinary, yet most cameras when switched on have an option of formatting your SD card. The term ‘formatting’ points to erasing all photographs and records that are already on the card, and making a storage gateway compatible to the camera.
It is easy to fall into the habit of erasing your photographs once you download them onto you PC, yet to get the best outcomes it is a better practice to arrange your card to every particular camera.
Note that you can exchange SD cards between camera models and brands with no issues as long as each time you embed a card into a camera, you format it for that specific camera.
7. UPDATING THE FIRMWARE
To keep the firmware of your camera updated is the most neglected part of taking full advantage of your camera.
Similarly, as your PDA intermittently should be overhauled so does your camera. After some time, little glitches or failing to meet expectations programming in the camera winds up seen by the maker, and they put out a free firmware redesign, so you can get greatest execution from your speculation.
To the customer, regularly it may appear work escalated, however the means are exceptionally straight forward and simple to pursue.
8. READ THE USER GUIDE
I realize you most likely have just skipped this segment and have gone to #9, yet for those as yet reading, listen to me.
I put in a long stretch of time managing trail cameras. From field tests to configuration concentrates to inquire about on the most current advancements soon to hit the market. I completely submerse myself in trail cameras, and you need to know how frequently I read the guidance manuals: Never! What’s more, every time I think twice about it.
While most cameras work likewise, everyone has its own capacities and proposals. From explicit batteries and SD cards to test modes and set up directions, every camera has its very own peculiarities that assist it keep running at most extreme potential.
9. TEST IT
There is nothing more disappointing than setting up your camera, giving it a chance to sit in the forested areas for three months and discovering that you missed a sep and the whole time you didn’t take any picture.
Set your camera up the manner in which you need it to work in the field, and drape it on a tree in your front yard, or tie it to a seat in your kitchen. Give the camera a chance to labor for multi day and afterward check the photos. Ensure that it is in perfect working form.
When you are in the field, do a similar thing. Stroll by the camera a period or two to ensure the movement trigger is lifting you up, and use a card-reader to ensure everything is working accurately.
10. POSITIONING YOUR TRAIL CAMERA
There is are some interesting points to keep in mind when hanging a trail camera in the public land.
Never point your camera specifically East or West.
As the sun rises and sets the light that is transmitted can cause over introduction to the photos your camera is taking. The development of the immediate light joined with the shadows from trees can likewise make false triggers
Try not to hang your cameras excessively high or excessively low.
This one is precarious on the grounds that it totally relies upon what you are attempting to photo. Whitetail deer for example stand generally 3ft tall at their shoulders. So setting a camera at the 3-4′ stature will make the camera entirely vulnerable to being distinguished, particularly amid the night when a glimmer is sent.
Hanging the camera too high will give you awful points, for the image, yet in addition the identification view and separation. Thus, at whatever point conceivable hanging the camera at about the 6-7′ tallness and calculating it down marginally will give you the best of the two universes.
On the off chance that you can purchase a camera with quick trigger velocities, long identification separations, and wide point of view, I suggest doing as such, yet in the event that those highlights don’t fit into your financial plan, don’t stress, there is a slight trap to settling that issue. Try not to put the camera straightforwardly opposite to game trails.
In many cases a moderate trigger speed combined with a tight point of view, will result in just getting photos of the back quarter of your objective. Rather edge your camera down the amusement trail at a 30-45 degree point. This enables you to utilize the whole discovery separate you do have, and keeps your question inside the edge of view for significant lot of time, just as enables the slower trigger speed to make up for lost time to the animal.
11. KNOW YOUR RANGES
This may appear to be quite self-evident, however it is critical to know the discovery and glimmer runs your camera is prepared to do. It doesn’t bode well to put a camera 70 feet from a game trail when your camera’s successful discovery separate is 50 feet.
Another viewpoint to consider is the influence that your glimmer range may have on your photograph nature of evening pictures. Having a solid glimmer separation can be an extraordinary resource for your camera, however in the event that your position of the camera is excessively near the objective, it will basically make excessively light to an item that is excessively close, making an over uncovered picture.
12. THEFT PROTECTION
Trail camera burglary has turned into a difficult issue inside the hunting network. Regardless of whether the issue is a misguided feeling of responsibility for certain real estate parcel, or animal, or only an antiquated instance of sticky fingers, theft insurance for a trail camera is basic in protecting your venture.
Let’s be honest, it is difficult to take full advantage of your trail camera if you never again have it. Here are three basic moves you can make, to keep you trail camera out of the hands of others:
Drape your camera up somewhat higher.
It is anything but difficult to recognize a camera that is eye level. Hanging a camera higher in the tree will dispose of an irregular bystander from seeing it.
Use No-Glow streak cameras.
IR and white blaze cameras emit streak. Regardless of whether it is a light shine, in obscurity woods it draws in consideration. Covering of a camera is your best resource when managing a hoodlum.
Use lock boxes and link locks.
While bolting up your camera is definitely not an ideal arrangement, it is an impediment for somebody to take it the first occasion when they see it. The vast majority won’t stroll around the forested areas with jolt cutters searching for trail cameras to take. Regularly robbery of trail cameras is expected to displayed chance. On the off chance that your camera is bolted, the hoodlum would almost certainly need to make a second outing to you camera with devices. Look at the locks I suggest.
13. PROTECTION FROM WILDLIFE
Animals end up inquisitive about trail cameras, there is no questioning that reality.
I have had a youthful whitetail buck rub its horns on a camera, just as a 250 lb mountain bear hurl one around like a bite toy.
While using bear confirmation boxes do help, the truth of the matter is the lodging of most cameras are plastic trim, and a little load from a grown-up bear can without much of a stretch break the camera free from a tree.
The best wager from preventing an animal’s interest is covering. Utilizing quiet cameras with no-gleam innovation, and killing however much aroma from the camera as could reasonably be expected are your best wagers.
14. USE ACCESSORIES
Time and again you go to a circumstance where there is definitely not an ideal tree to put your camera. Regardless of whether you are in a cattail swamp, an open field or a birch brush, your alternatives for that ideal camera setup is simply not present.
There are various extraordinary adornments available today that enable you to at present set your camera in that perfect spot. The miniaturized scale star amusement camera mount from Hawk, for instance, is a possibility for screwing into little trees or fence posts. Their straightforward fasten framework is speedy and simple, and the mount fits any camera.
At the point when there is nothing accessible to screw into, I like to use the Stick-n-pick. This gadget just joins to your camera by screwing into the base using the ¼ 20 strings. At that point you basically simply stick the gadget into the ground any place you need it. It is easy to utilize and moderately economical.
Trail cameras, similar to some other bit of hardware needs ordinary upkeep to keep in perfect working condition. One thing that is fundamental to taking extraordinary photos with your trail camera is keeping the focal point clean. A straightforward miniaturized scale fiber fabric can be utilized to wipe away any residue that gathers on the external focal point.
Dampness control can likewise turn into a fundamental part of keeping the trail camera in legitimate working request. Nothing makes more harm electronic gadgets than a development of dampness. Utilizing a little sack of desiccant bundles inside the lodging can take out any dampness.
Look at our total trail camera upkeep check list for more data on approaches to keep your camera working effectively. Trail camera apps helps in this purpose.
16. ATTEMPT NEW SETTINGS
Most of trail camera proprietors utilize one mode; still photographs. While there is a huge amount of data that can be gained from straightforward photograph modes, most cameras are not being utilized to their maximum capacity. Here are the three other principle trail camera settings that you should utilize:
Video – While cameras accompany a wide assortment of goals, a 30 second video will give you a superior comprehension of what’s going on in the forested areas than a basic picture, and in a way it is increasingly fun. Simply know that this mode will utilize more battery than still pictures, and top off your SD card at a quicker rate.
Timelapse – To utilize a timelapse mode you need an exceptional situation, for example, a nourishment plot watering opening, or a huge yield field. In these extensive tremendous zones, it is now and again hard to inspire a deer to venture into your identification zone so as to trigger your camera. This mode enables you to take photographs at gradual occasions amid pinnacle development, for example, first light and sunset. Huge numbers of the new cameras on the present market enable this setting to work related to movement initiation, so you are never passing up on a chance for an incredible photograph. The main downside to this mode is the expansion of clear pictures that will top off your SD card.
Hybrid mode – The hybrid mode is the best of the two universes. Only one out of every odd camera is outfitted with this component, however for those that are, it is an incredible element to have. In cross breed mode the camera is initiated by movement identification and snaps a picture first, at that point continues to take a video after. This functions admirably amid the whitetail groove, when bucks are following does. The doe will trigger the camera, at that point you will have around 15-30 seconds of video of the buck trailing behind. This mode also will go through battery at a quicker clasp, just as utilize the space on your SD card at a quicker clasp.
17. USE CARRYING CASES
Trail cameras are an interest in your time, your vitality, and frequently your hunting achievement. However, we are for the most part blameworthy of taking that speculation and pushing them into a knapsack enabling them to blast and bump around as we climb through the forested areas.
Despite the fact that we very only sometimes recognize it, trail cameras are a costly innovative device, that can exceptionally effectively turned out to be harmed on the outside as well as inside the packaging. Set aside the opportunity to secure your speculation and research a conveying case for your camera. Here are some trail camera sacks I have utilized and feel sure to prescribe.
Bonus Tips: BE PATIENT
If you have pursued the above mentioned 17 tips, the last thing left to do is to be patient. Your camera is in great working condition, you have tried it, made it as burglary verification as would be prudent, eliminate scent from your camera site as you could.
Now let your camera do what it was made to do, take pictures. The greatest misstep most trail camera clients make is checking their cameras too regularly. If the photos are there today, they will be there about fourteen days more.
Except if you are going by a camera while in transit to a tree stand, driving by one on a tractor, or filling your feathered wildlife feeders close to your camera in the back yard, don’t make any superfluous excursions into your camera site.
Checking your camera once every 3 a month is the most successive movement I suggest.
Hi, Lex Elliott here, the Co Founder & Chief Editor of Passionate Hunters.where we go out of our way to research, test, and ultimately review some of the best hunting gear out on the market.
As a Hunter and experts, me and my team will guide you on which hunting gear can help you and get the best results on hunting and also help you to choose the best hunting equipment.Read more About Us