The use of bow and arrow is not uncommon for sports, fitness activity, recreational activities, and hunting games. Archery as a rule of thumb demands focus, precision, control, and accuracy. Accuracy is a very important aspect of archery irrespective of whether it is done the recreational activity or for sport. This makes bow sighting very important because it maximizes your chances of hitting your target.
Sighting and archery generally require a lot of practice. It is realistic for you as an archer to draw a bow in the general direction of the target and hope to hit it without proper practice. Even top athletes practice regularly to help maintain focus and control.
Therefore, practice is very important in bow sighting for you to achieve accuracy. Things you’ll need for a proper practice include bow, bow sight, arrows, target firing range, distance measuring tool, and Allen wrench.
The good news is that there are products that help to improve your sight and hit your target. These products are called ‘sights.’ Using a bow sight helps to improve your accuracy in hitting targets. They help the shooter to have a good view of where the arrow is pointed.
These are a few steps to help you sight your bow.
Get a sight
There are various types of sights available for you as a shooter to select from. The different types are available to suit your preference. In purchasing a bow sight, you need to consider certain factors such as type of shooting you will be doing (target archery, field archery, and bow hunting), how much time you have to practice and of course your budget.
The most popular sight used is the multi-pin sight. Multi-pins are usually between three to six pins depending on the preference of the shooter. These pins represent different ranges for shooting. It allows for easy range adjustments and can be customized to fit the situation. However, do not add too many pins to avoid your sight picture becoming cluttered.
Another type of bow sight is the single pin. This bow type is suitable for shooters who prefer to have a clear focus. The sight is clutter-free as you have just one pin mounted on the bow sight that is used for all yard ranges. The shooter has to adjust the sight to suit the shot.
A major advantage of the single pin is that it has the ability to shoot points every time. This can be attributed to the fact that it has no sight of clutter. The disadvantage of the single pin is the lack adaptability to changing circumstances.
When choosing your bow sight you are to pick what works best for you. If you’re a beginner and you can’t decide on which one to go with, it’s advisable to rent (especially if you’re on a budget) both as opposed to buying. Then you can try both and figure out which one is best for you.
It might also be difficult to pick a suitable brand of bow sight to buy. This is why renting at the initial stage is recommended.
Mount sight on the bow
The bow sight will come with a manual that will give you the instruction on how to mount the bow sight on the bow. In addition to that, a lot of bows come with already drilled holes in it for attaching the bow sight. With these things, fixing the bow should not be an issue. The bow should be fixed at the right angle to the bow. As an archer, you should also avoid fixing the sighting pin too tight. This could damage the bow. At this point, you will need an allen wrench to adjust the sighting pins.
Set up your target and mark your ranges
In setting up your target for practice, it is advisable that you use durable targets. This helps you to avoid moving back and forth to set a target every time to shoot your arrow.
Moving back and forth can be very repetitive and causes fatigue. You must note that fatigue can affect your accuracy so it is important for you to be alert. For practice, you should mark your ranges and the ideal range mark is every 10 yards. At this point, you’ll need your range finder for accuracy.
When all these things are put in place, start shooting. You need to shoot several times and repeat the process until you achieve a bit of accuracy and increase your distance. You’re not expected to achieve perfect accuracy as the perfection of accuracy takes time and practice.
Shooting your bow
If you’re new to archery, you can take lessons for basics. However, you can teach yourself archery. In shooting, a lot of matters from your posture to your stand to your anchor point.
- Your stance – you are to stand perpendicular to the target (facing the target with your side) before drawing the bow. Your feet should be 90 degrees from the target.
- Your grip – your grip on the bow handle should be a relaxed grip.
- Hold the bow horizontally and place the bow on the arrow on the shelf of the arrow rest, bring the bow back vertically.
- Finger position – position the crease of your index finger, middle finger and ring finger above the arrow.
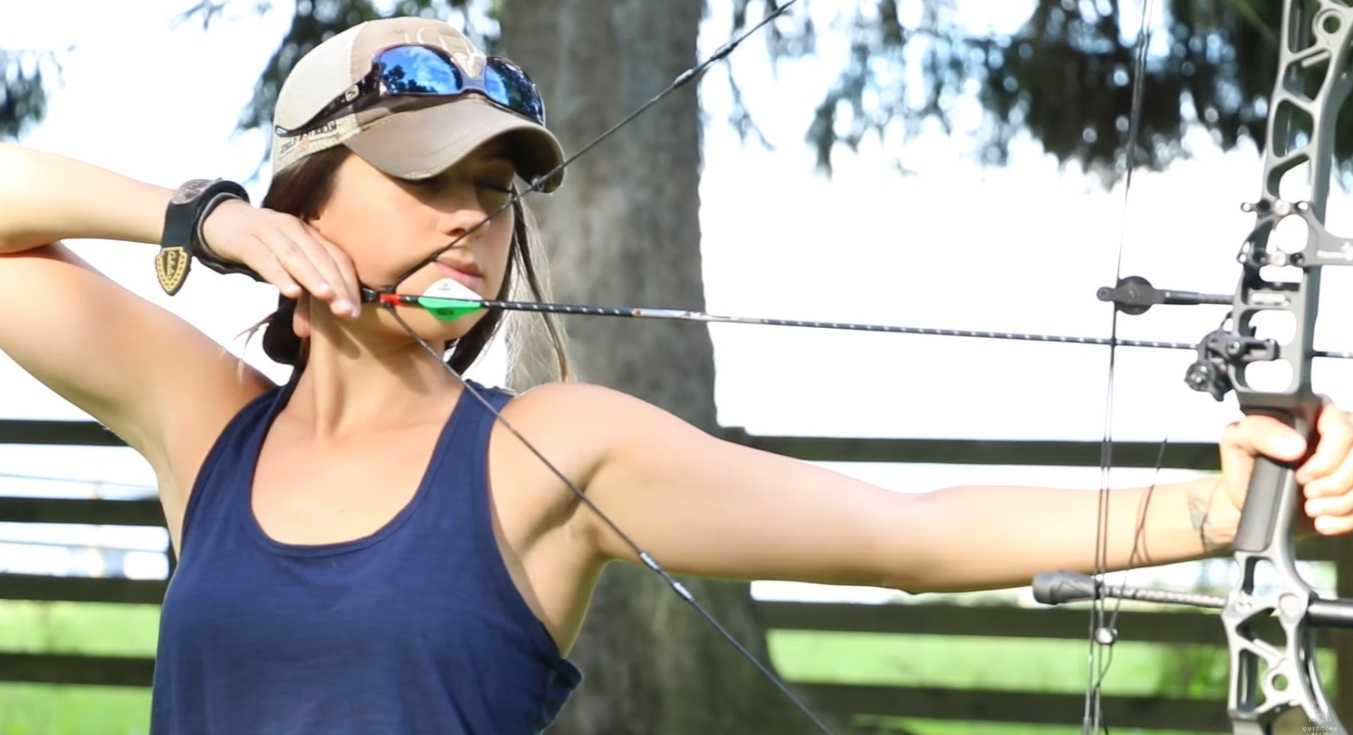
- The Draw – you are to pull back the string with your back muscles. You pull the string and ensure that your index finger is under your chin. The string should touch your nose and lips. Do not grip the arrow with your fingers.
- Aiming – look down the arrow with your dominant eye and align it with the target. This is where your bow sight comes in very useful as it helps you to aim properly. If your arrow isn’t hitting target then you keep adjusting until you hit your target.
- Release – you release your grip on the arrow by allowing your fingers to slip backward. After shooting, maintain your body position. Shoot several arrows to make sure you’re hitting your target.
Archery can be difficult to learn but this is only because of the fact that it requires a lot of practice for you to get close to perfection. When you’re willing to dedicate time to practice, archery and sighting will come easy to you.


![Snakebite First Aid for Hunters [Updated in 2022]](data:image/svg+xml,%3Csvg%20xmlns='http://www.w3.org/2000/svg'%20viewBox='0%200%20150%20106'%3E%3C/svg%3E "Snakebite First Aid for Hunters [Updated in 2022]")


![Snakebite First Aid for Hunters [Updated in 2022]](https://www.passionatehunters.com/wp-content/uploads/2019/03/snakebite-first-aid.png "Snakebite First Aid for Hunters [Updated in 2022]")


